As you may or may not know, the Bear and I bought a house in Portobello, Dublin many moons ago and renovated it ourselves. Not like, picked out colours for the builders to sloop on the walls ‘renovate’ (not that there’s anything wrong with that of course) but we did all the work (that we physically could and were legally allowed to do ) ourselves. We knocked down walls, we pulled up floors, we pulled down ceilings, put ceilings back up, knocked through chimneys, created windows, slept in a house with NO BACK WALL for a week…..something I do not recommend. In other words, we got down and dirty and all along the way, I documented it for this blog. So if you were aware we existed way back then, you may have read about our renovation journey then.
The renovation blogs petered out over the years as the house came together and the business grew. But the house has not stopped evolving and I thought I might do a little ‘catch up’ blog on where we are today.
If you’ve already read our older blogs feel free to skip, I will not be offended I promise. I’m going to split the house update into two blogs, this first one will cover the ground floor and garden and the next one will cover upstairs. Okay, let’s go!
When the Bear and I first bought this house, it was in three separate (tiny) apartments, The apartments were B L E A K. They were small and dark, covered in pitch pine, mould and were very, very sad. We knew the house needed a full renovation and actually when we started looking for a house to buy, it was NEVER our intention to buy a fixer-upper. Sure we’d paint the walls and maybe wash the carpets in our imaginary new home but anything more than that was cray cray. We were both working full time, sure we wouldn’t have the time!
Anyway, after months of dismal house hunting we found this place which had been incorrectly categorised as being in ‘Dolphin’s Barn’ and yes it was in a JOCK but it was big and it had potential and it was in Portobello! It took us about half a year to exchange and actually get the keys and as soon as we did, we moved in and made a plan.
We moved into the top apartment and decided to start renovations on the ground floor. In theory, we would start renovations downstairs in our free time and then ‘live’ upstairs. It made sense at the time and it did work I guess, but living on site means that you can never really ‘leave work’, it’s always there just outside the door. Taunting you.
Anyway get to work we did, one of the first things we did was get plans drawn up of the house and what we wanted to do. Our budget was always a challenge, we had basically spent all of our money on buying the house so we had to be savvy and cost save everywhere we possibly could.
The (would-be) Living Room/ Dining room.
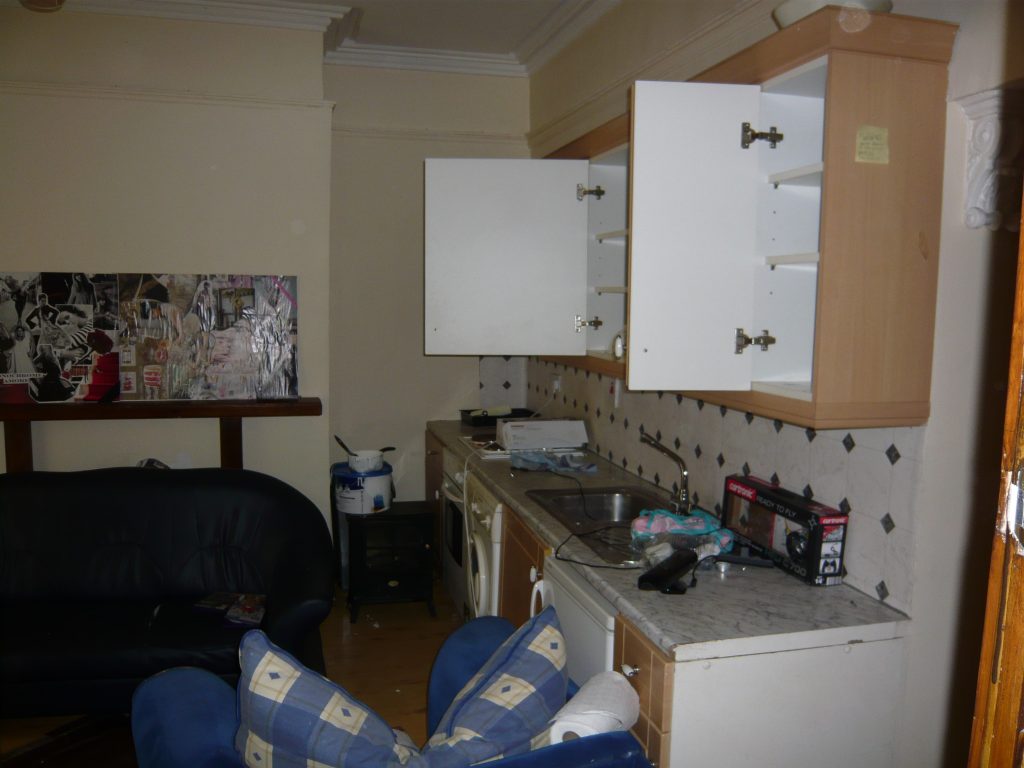
Our first job downstairs was clearing out all the shite. And there was so much of it. Look at the before photo below for a wee taster.
Cupboards.
Manky stained armchairs,
Horrendous sinks.
Washing machines.
All out and into seemingly endless skips.
In the two photos below, I’m standing at the door. These are photos of the same space. We pulled out the kitchen and knocked through the wall (that the cupboards are hanging from) to create an open space living/dining room. Essentially, where you see a paint bucket in the before image is where the red cabinet sits now.
Before 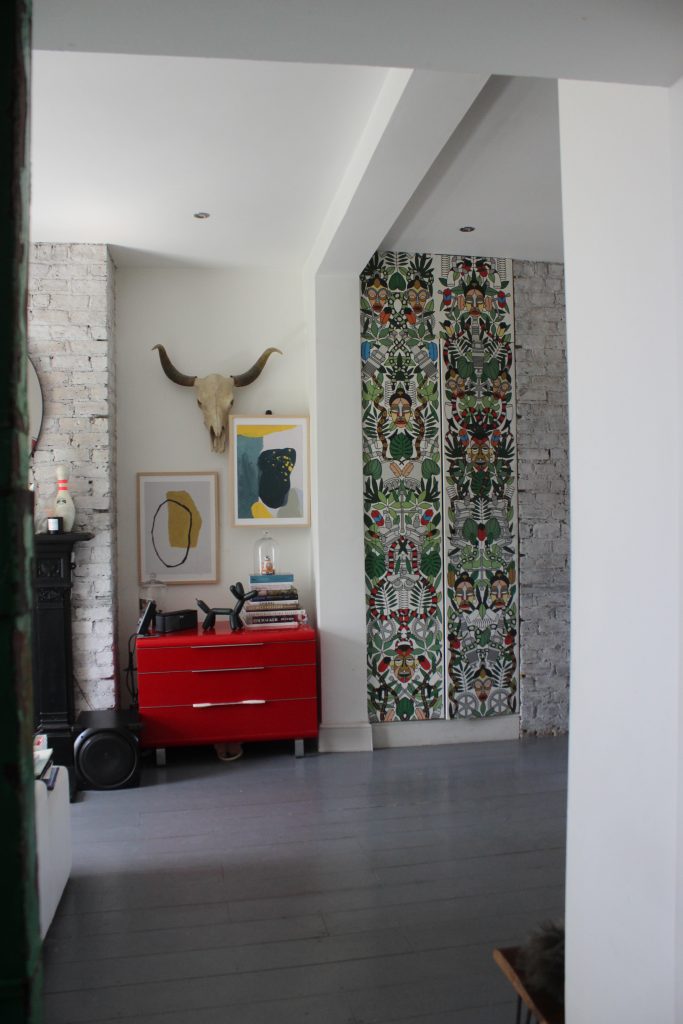
After
Now, let’s step in and turn left into the living room.
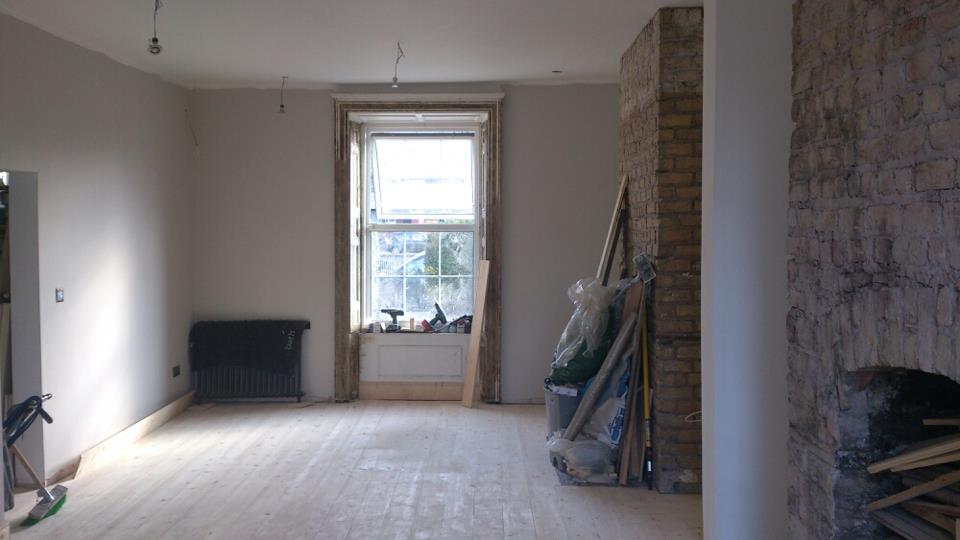
This is the space after we cleared everything out, laid a new floor, painted it and re-plastered. We found the radiator in Mac’s Savage yard in Kilmainham. It was super slimline and fit perfectly beside the window. We sanded it down, had it dipped and re-painted in black before we hung.
The light is from April and the Bear (find similar here) and the sofa is from my parents. They tend to buy a new sofa every few years (?!) and we have been the lucky receivers of two of their cast off couches. The gallery wall is a collection of stuff we collected over the years (including one of my own design) and the metal door is my pride and joy. We found it in Bailey Gibson (yes another salvage yard) down the road, it came from a wool factory in Manchester and we knew we had to have it the moment we saw it, even though it wasn’t the right size for our door opening. We actually had to make our door ope smaller so that the door would fit but it was so worth doing.
If you would like to see how we (the Bear + my Dad) hung our salvaged green door – pop here.
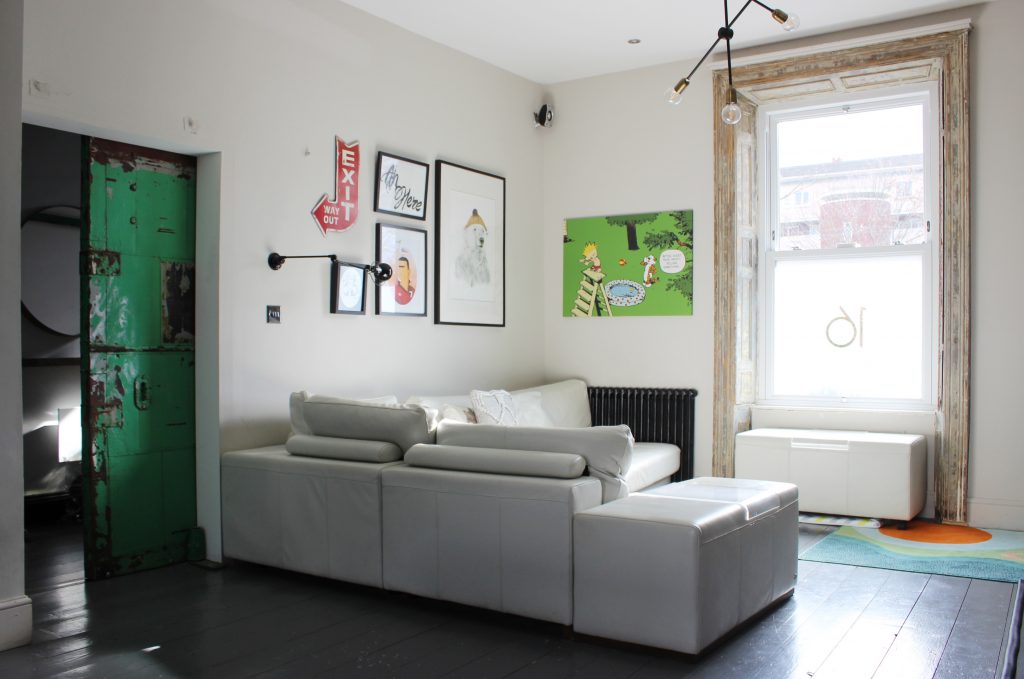
Now
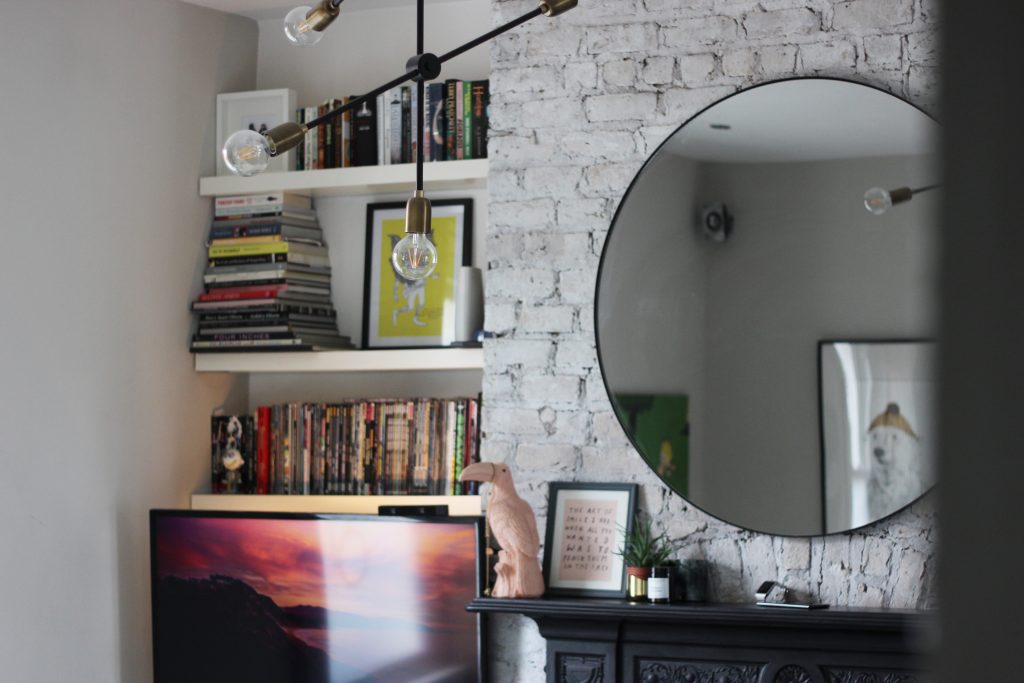
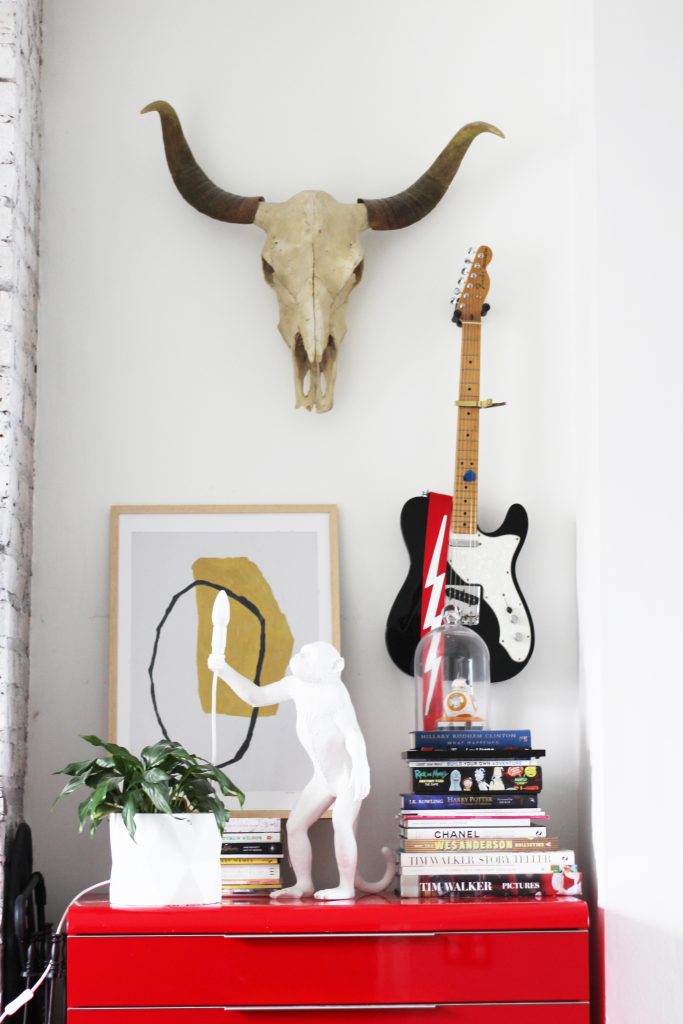
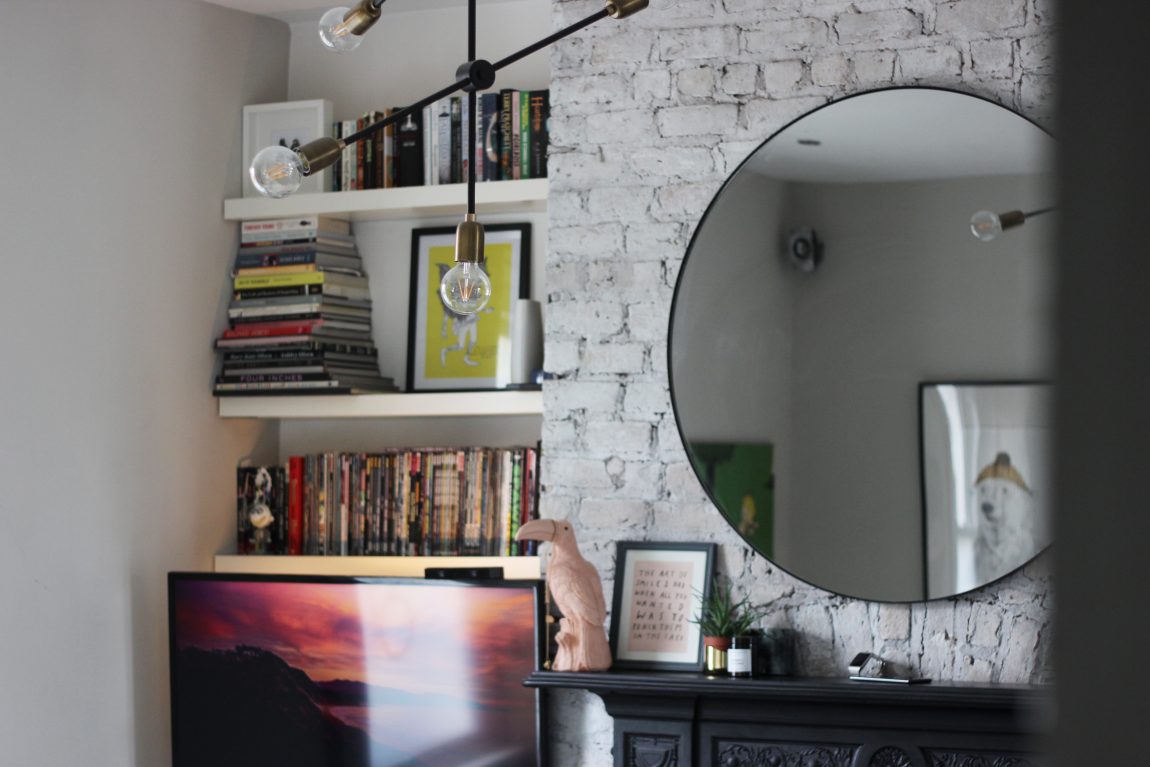
Directly opposite the gallery wall is our fireplace, which we uncovered behind plasterboard. We pulled it all off to reveal this beautiful brickwork – which we painted in a watered down white. Over the fireplace we hung a huge Circum mirror which bounces light all day long. We have floating shelves + the wall mounted television in the alcove to the left and the red cabinet in the other alcove. I believe you guys have already meet.
So now we’re going to spin around and face the back of the house + the terrifying kitchen once again. Sorry.
When we pulled out the kitchen and knocked through the wall/s we still had so much to do . We were creating a totally new space which required new doorways, walkways, ceilings, walls, floors and doors. The work seemed endless but we got there….somehow.
Now let’s clarify a few things. The Bear and I did a lot of the work in our house but we had help. We knocked through walls to create holes for the new doors and windows to go in but we had the professionals install them. We knocked down a lot of walls, but any load bearing walls (like the main one downstairs) were first prepped by builders for us to knock afterwards. Basically we had the professionals do the parts we didn’t know how to do and we did the rest.
And all along the way, the Bear’s dad guided us – he’s an experienced, retired carpenter and he showed us how to do things right. My dad helped a lot too as did our group of pals and I’m fairly certain that our darling Dave Jones was there, on site with us every day.
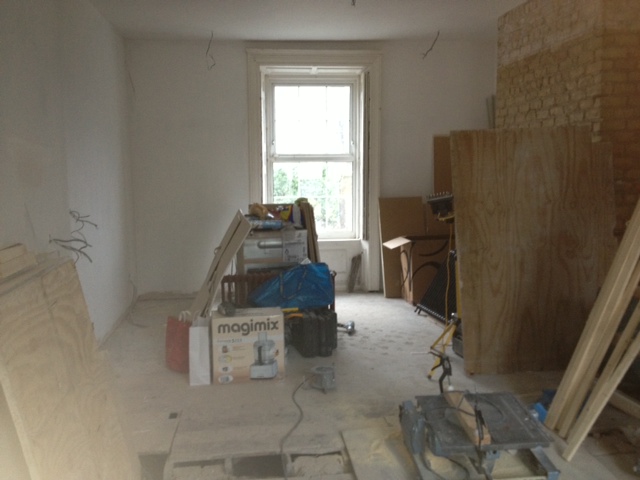
The mid way picture below on the right is shot from the same position as the before picture below on the left. The double doors at the back of the room, behind the step ladder were ones that we put in. There was no door there previously, it leads to our back garden. The walk way to the right of the patio doors was also created by us. The brick wall and fireplace on the left hand side of the picture was also uncovered by us under layers of plaster.
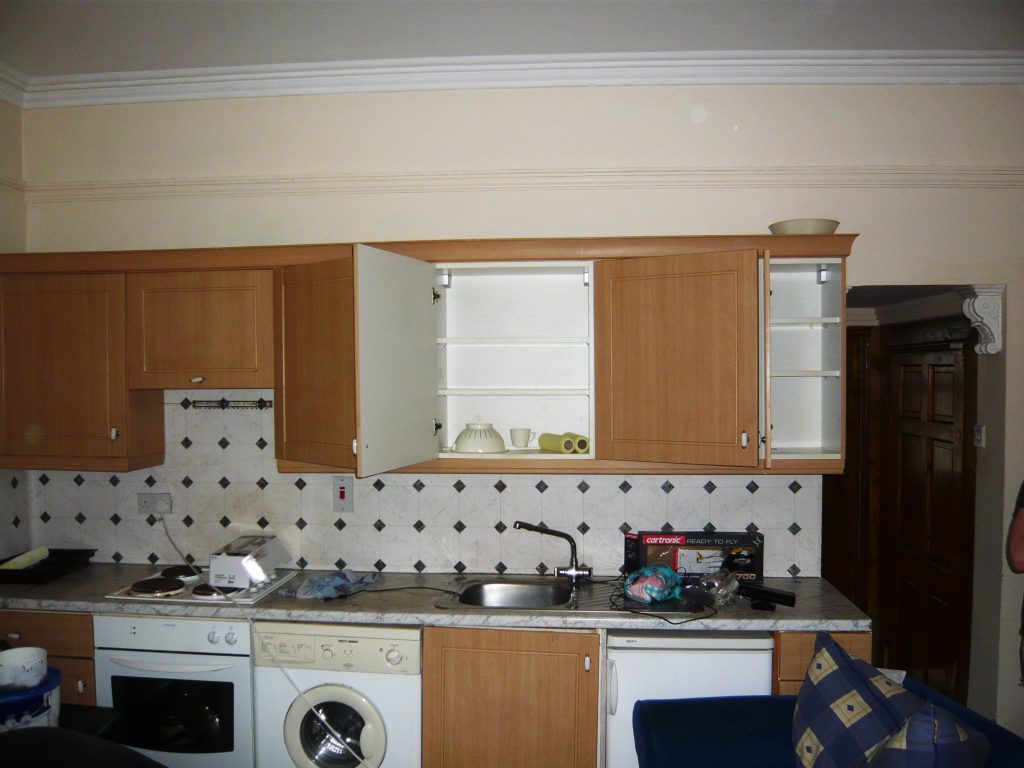
Before 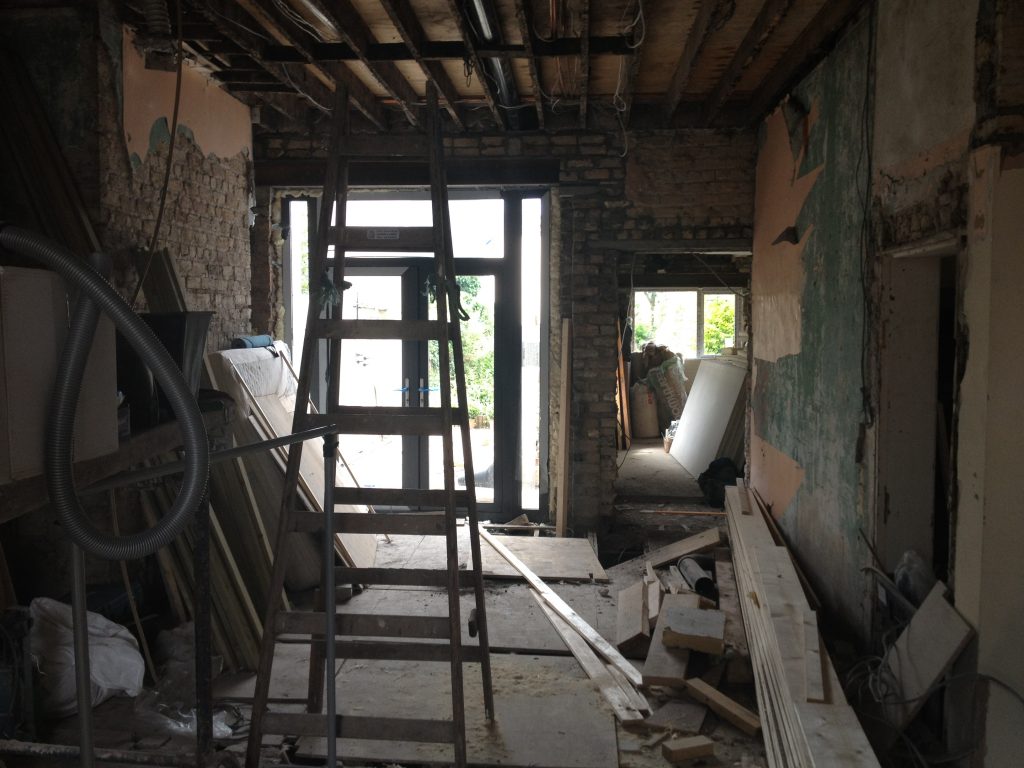
Mid Way
The space that we are looking at here in the mid way image was a bedroom and we wanted to turn it into an open plan dining room that would lead into the kitchen.
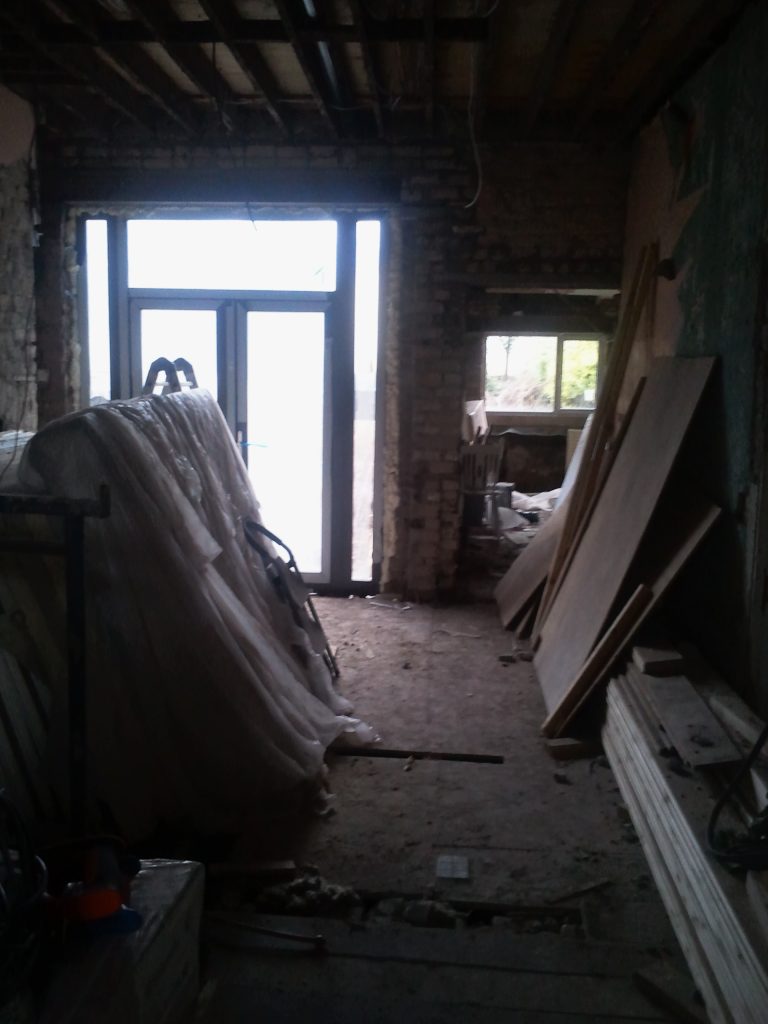
Still Mid Way 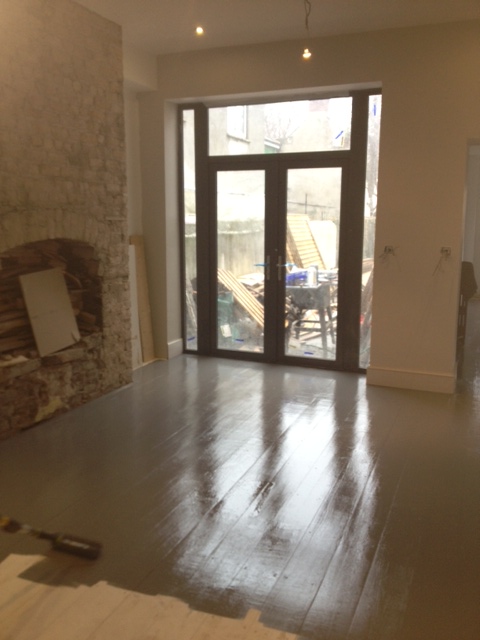
Oh floors are down 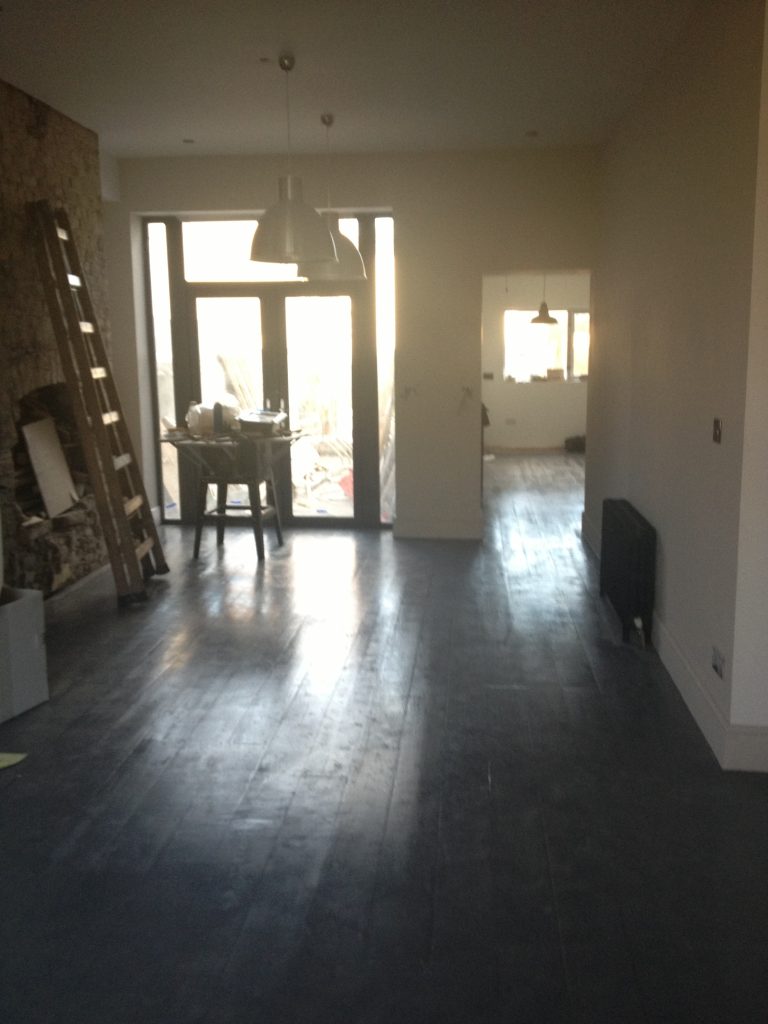
Floors are painted!
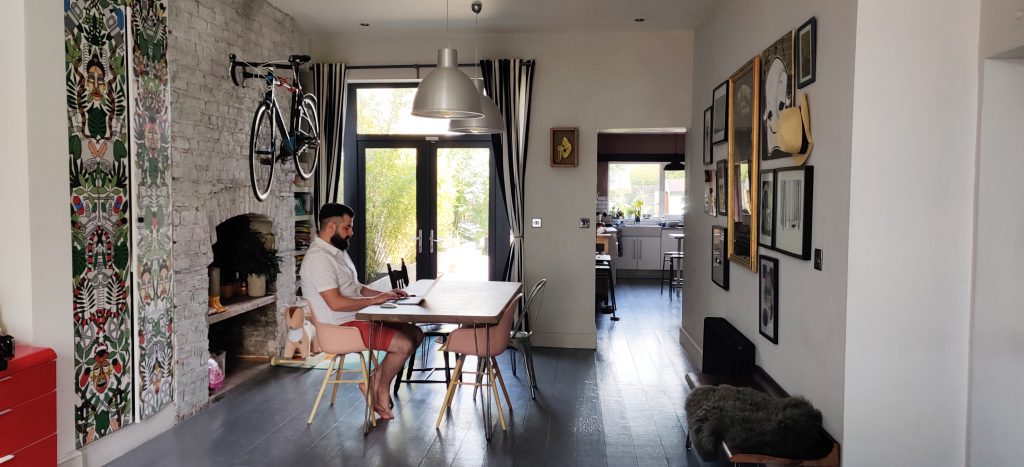
And here she is in her full finished glory.
We popped our dining table in the center of the room, under the two silver pendants, there’s enough space around it to walk around happily and it doesn’t block the walkaway into the kitchen or back garden. We have another salvaged rad across from the dining table and we actually closed up the fireplace here and use the space for storage (plastic ride on cars and the like. I know, tres chic). The Bear’s bike hangs above it which looks cool but more importantly it gives his bike a home and gets it out of my way!
Storage wise, we have floating shelves in the alcove next to the back door for books and the like, and we installed a wardrobe of sorts in the other alcove. Do you see the mad multi-coloured print that goes from the floor to the ceiling? That’s our coat/ nappy and shoe wardrobe. We covered the doors in NLXL/ Studio Job l’Afrique Wallpaper (find it here) which is utterly wild and yet really works in the space.
Next we’ll waltz into the kitchen.
The kitchen was originally home to the stunning spiral staircase below – in a shocking move we decided to skip it. The room used to be a living room/dining room + kitchen. It was cluttered and dark, so straight away we knew we had to bring more light in. Once we removed the stairs, we got to going on the back of the room and behind the plasterboard…was another fireplace! This one made NO sense though as there was no chimney – so it seemed to be a fireplace to nowhere. We ripped it out anyway and replaced it with a nice big window which brightened the space considerably.
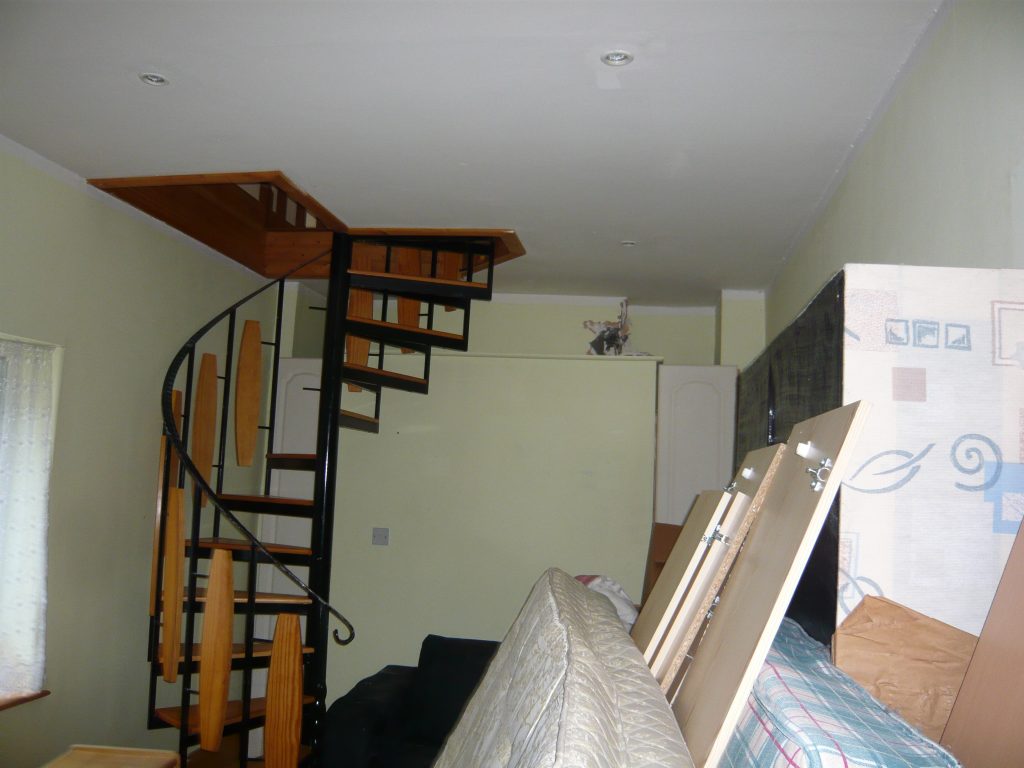
Before 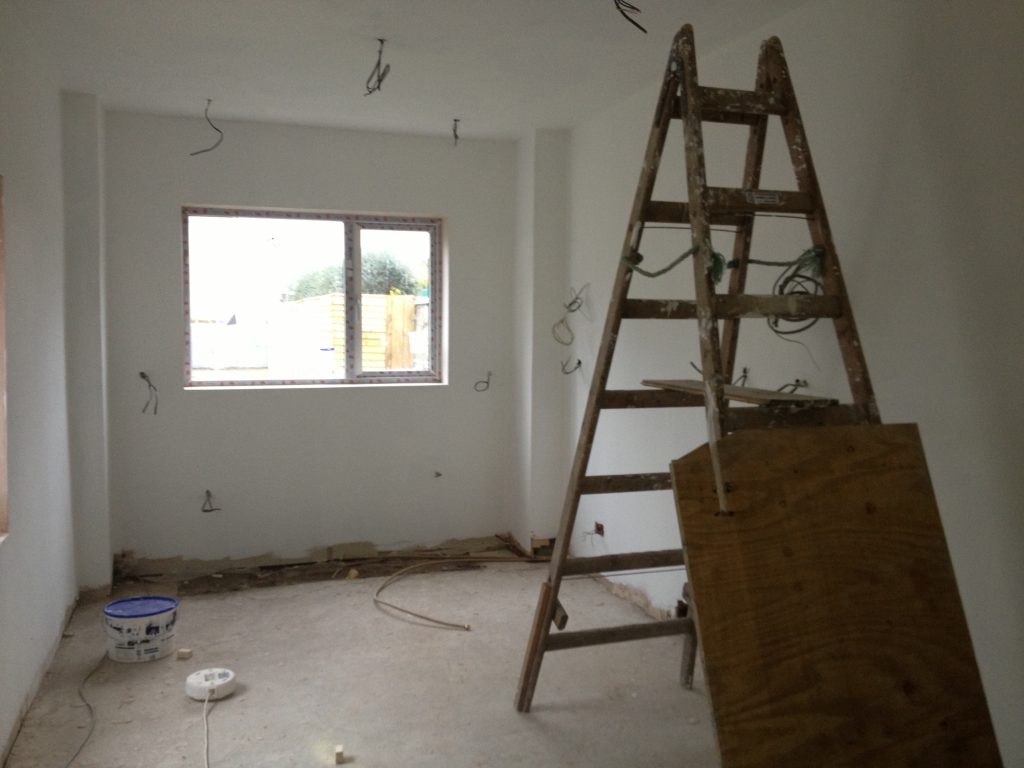
Mid Way
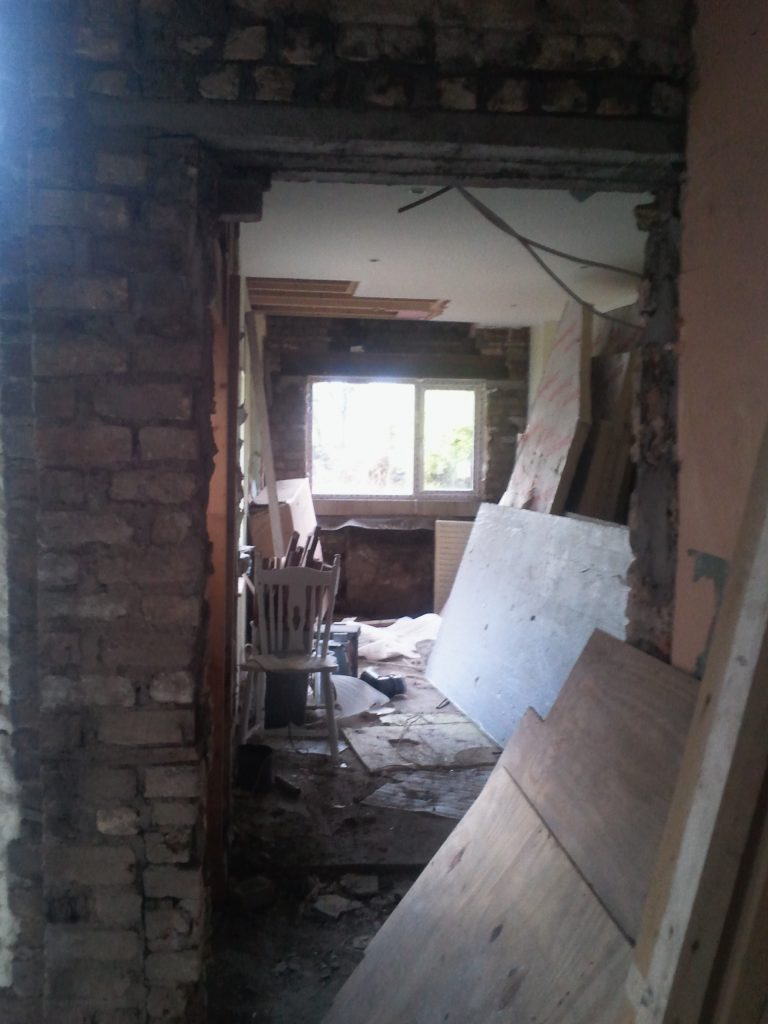
Mid Way Destruction 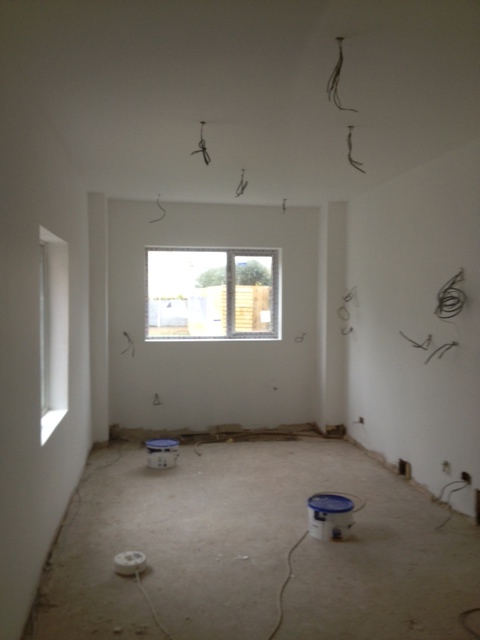
Mid Way Plastered Realness
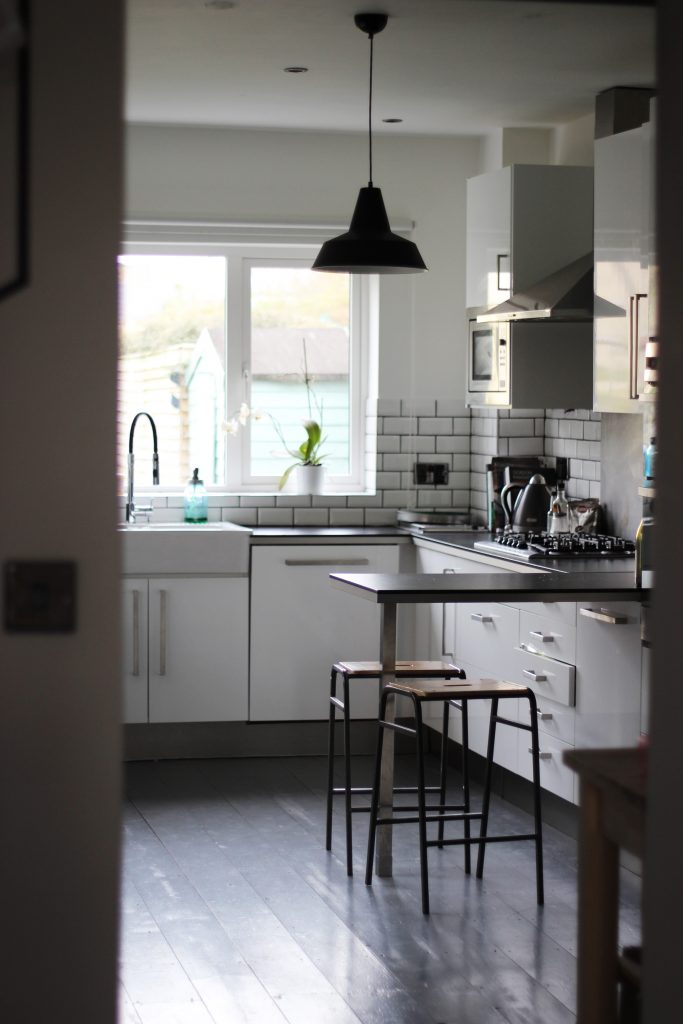
We popped our sink under the window so we could look out at the garden while washing our pans, to the right then we have our hobs and ovens and what not. It’s quite a long and narrow space – so there wasn’t too many options with where to put everything really. We opted for a small little seated area in the center for quick kitchen nibbles and guzzling wine.
Our colour choices in here initially were fairly tame – chrome appliances, white walls and white sub way tiles. We were conscious that it was a dark space and wanted to brighten it as much as we could, so white seemed like the right choice at the time. Actually we recently painted the walls pink ( see here for that) and it’s so nice to have a new colour in there but it does make the space darker.
Garden State
Now to the back garden! Our garden has gone through many iffy looks over the years, its most consistent has been ‘overgrown + under loved’. The Bear and I do not have green fingers and so we actually paid a gardener to sort it out pretty early on in the renovation. Our thinking was, we don’t want to do it and this way, all the dirt + muck can be brought in and out of our terrace, manky house instead of when the new floors and what not are laid. Genius, I know.
Anyway, he did a pretty good job, he had to remove a lot – as you can see from the before picture below on the left. He put up an ould fence, laid the lawn, give us a few planters and away he went.
And that was all we did with the back garden …for years. So obviously it became totally overgrown and it became clear we needed to give it some proper attention, so we did!
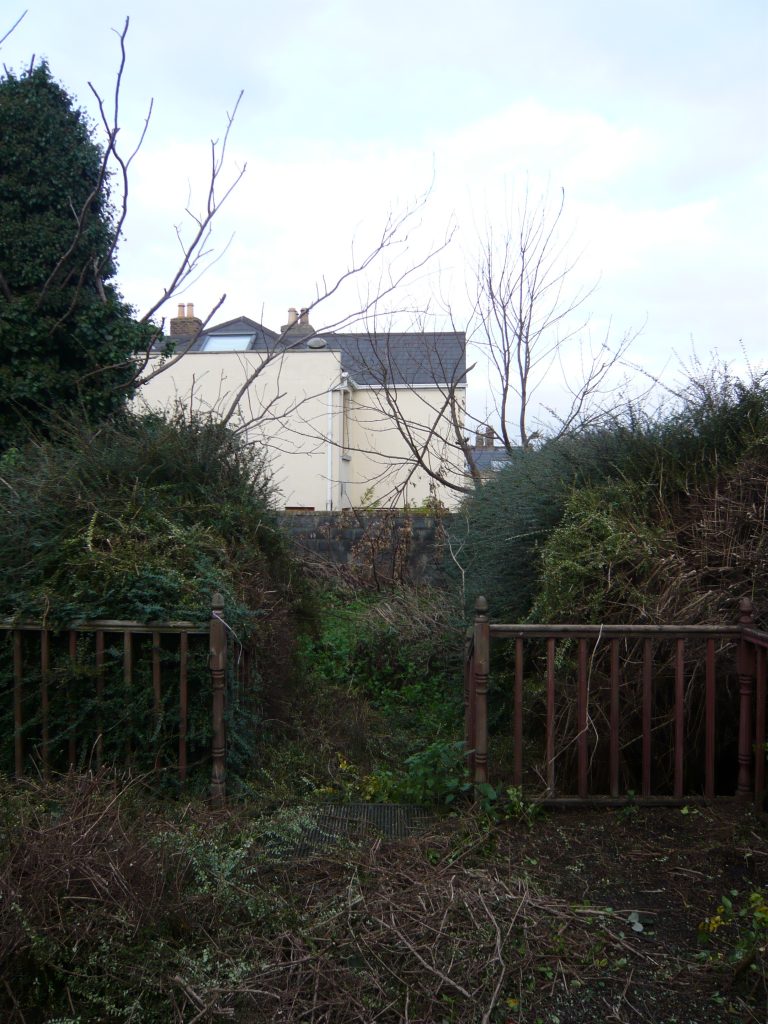
Before 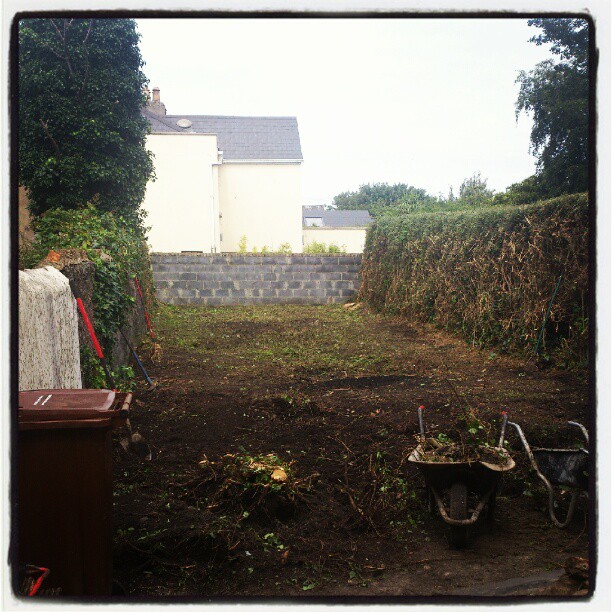
Mid Way 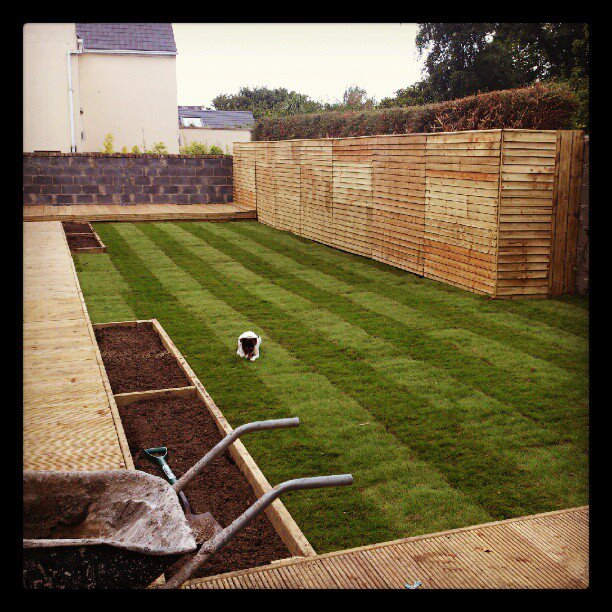
First Stage
We lay a new lawn (yes it got that bad), put the fence back up and painted it black. Removed all the (now rotted) wooden paths and planters – we had to start again. We got some brick planters put in around the border of the garden and lawn for plants. The bear built wooden planters in our courtyard for bamboo (you can see it there below in our Now picture, on the left.) Bamboo is so lush and I love the sound of it, it grows really well and is super for a bit of privacy. We painted the planters black.
We lay slate slabs from our patio door to the lawn, and put beach-y type stones either side of the slabs.
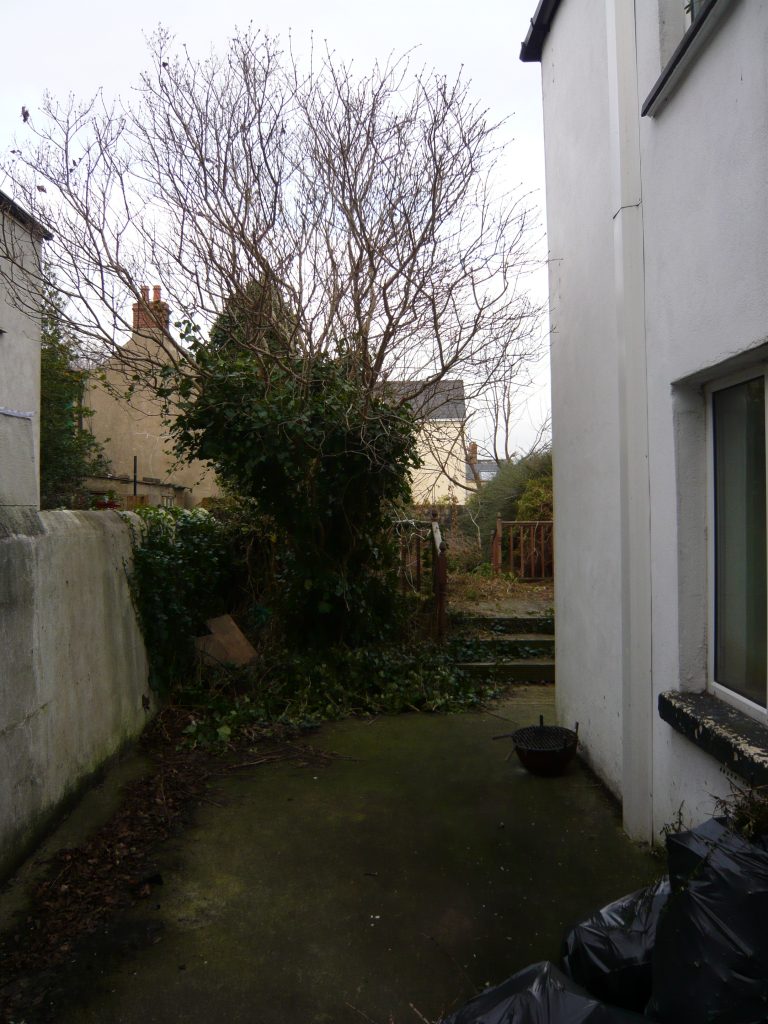
Before 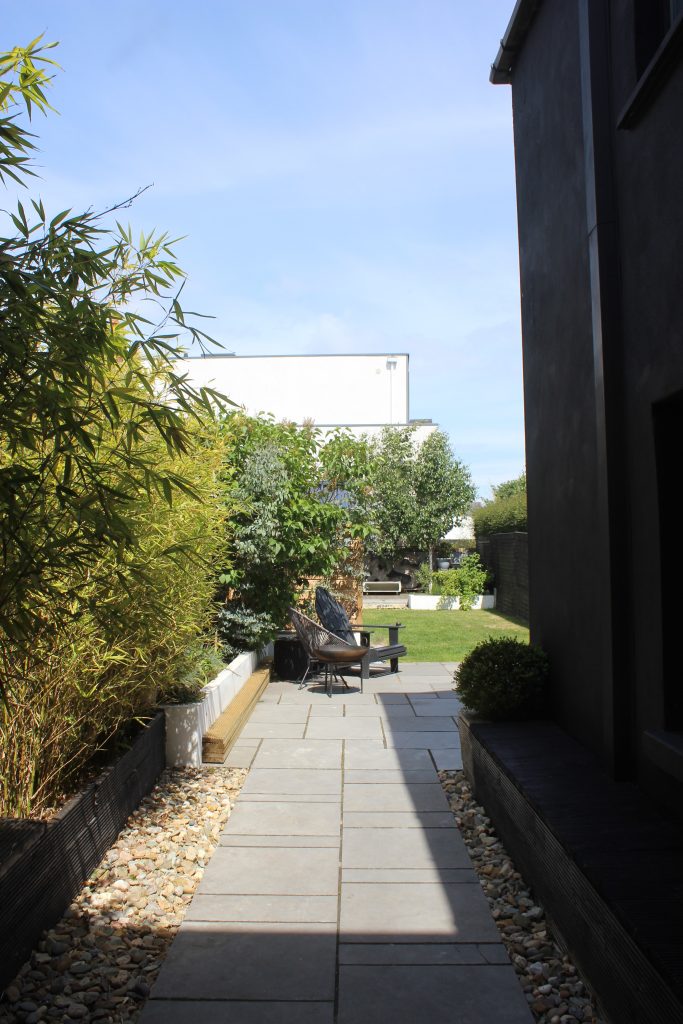
Now!
The before picture below is taken from the lawn, looking at the house – you can see where we knocked through to create the kitchen window here and the patio doors.
We also painted the back of the house black, it had been an obsession of mine for a while and three summers ago we went for it and we’re super happy with the look. Pop here for a blog about that re-paint. The Bear actually painted all the window surrounds black during lockdown and it really completed the look, so if you’re thinking about changing your outside hue, consider doing the window sills too.
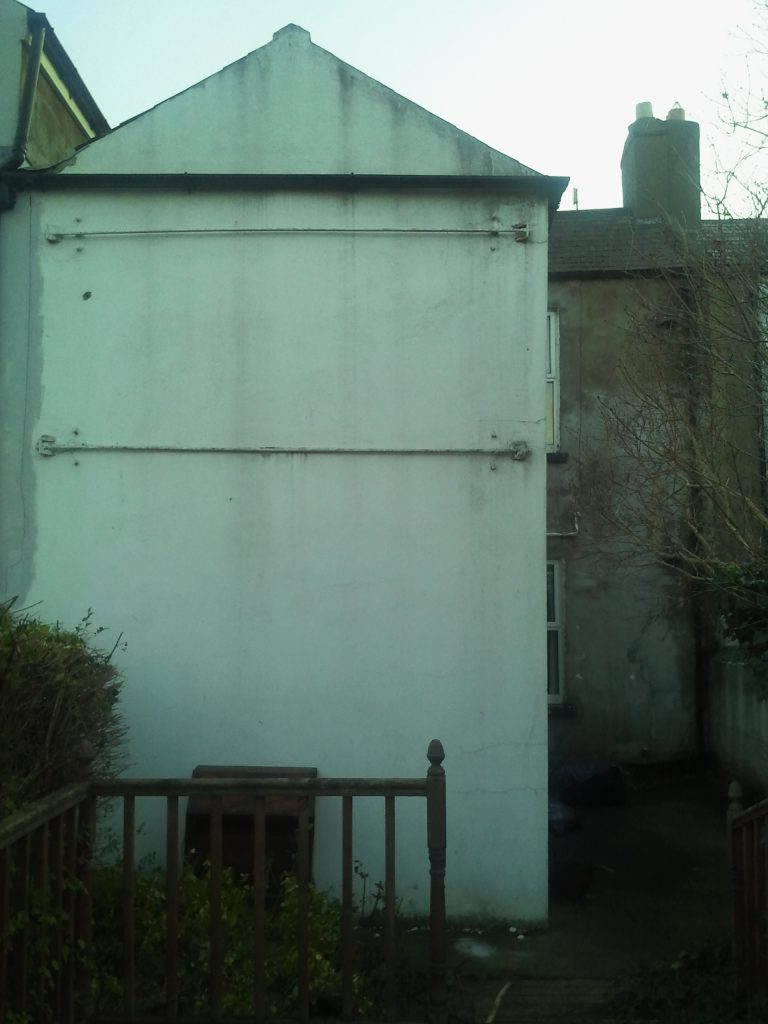
The scary before 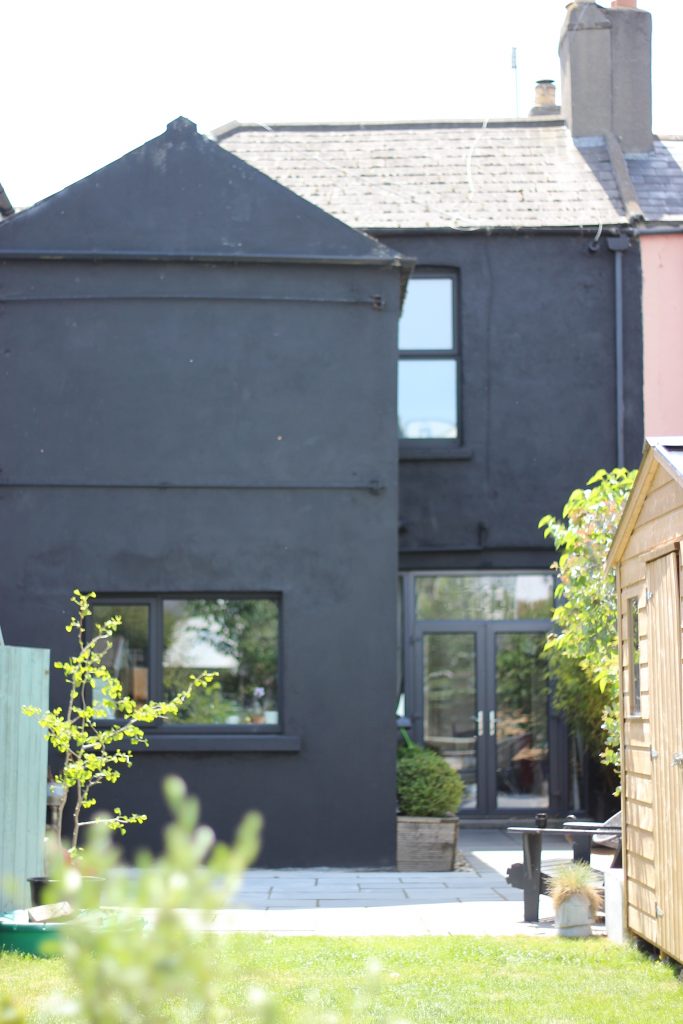
Not so scary after 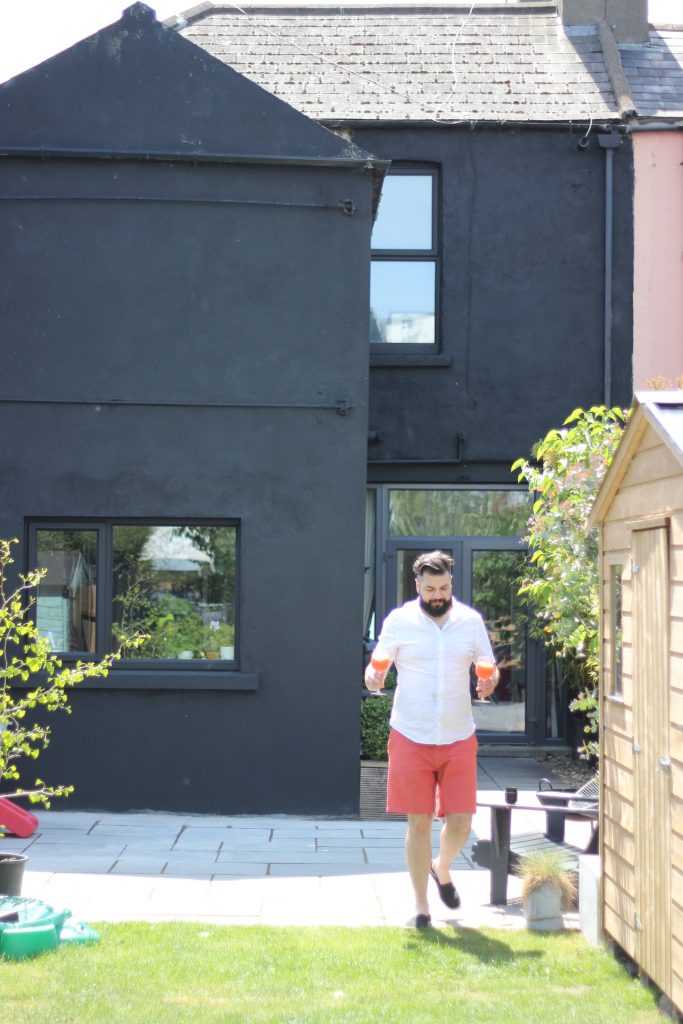
The Bear himself, and yes that’s a margarita
We’re super happy with the garden now but of course, we’re not finished. The Bear is currently building his very own pizza oven + outside kitchen-type area ( this will sit to the left of the kitchen window, if your looking at the pic above). As you can imagine it’s a fairly mammoth task so it’ll take a while but once it’s done, we’ll report back with some pictures!
Hope you enjoyed our little recap, this update covers the ground floor – we’ll be heading up the polka stairs in our next blog post which will cover all the renovations upstairs. For a peek at our older DIY posts about the house, pop by the links below.
S x


No Comments