Oh how I ADORE wrapping. Especially when you know exactly how you’re going to do it. This post is about adding natural touches to your wrapping in an easy, timeless (and cheap) way. HUZZAH! To prep for this, try clipping what you can from the back garden or local park or even pull a few twigs off the BACK of the Christmas tree if you haven’t got a chance to forage. Seasonal herbs such as rosemary and sage also work great as an atmospheric and fragrant alternative.
1. FIND FOLIAGE: Get your clippers in hand and head out into the wilderness. Pick a wide variety and make sure it’s as close to the big day as possible as they won’t last long with the heat on full blast!
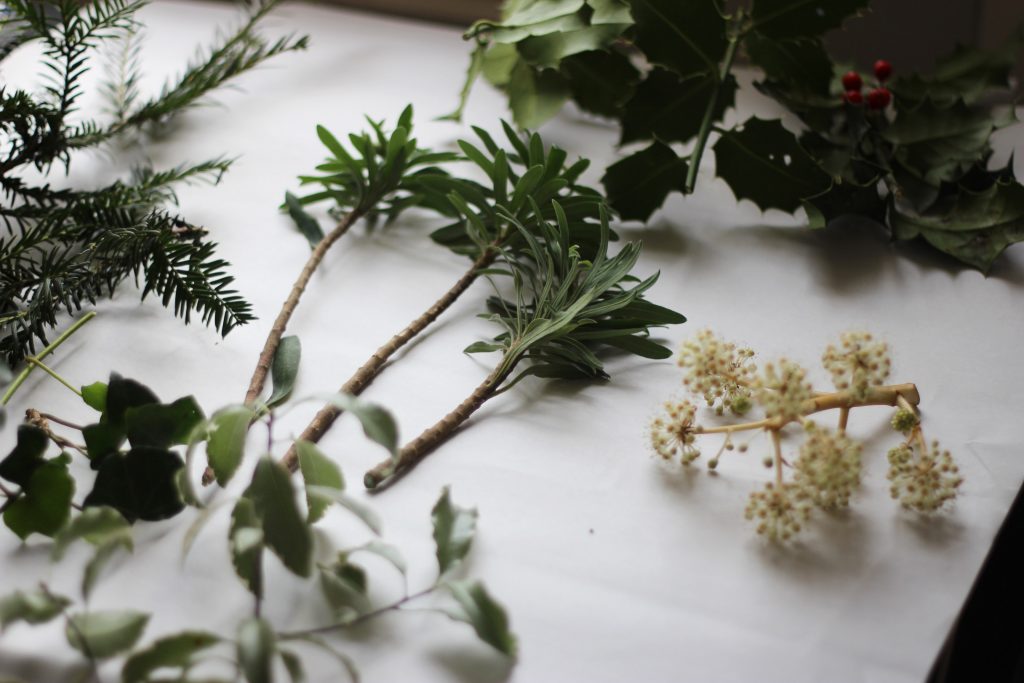
Here are a few suggestions:
* Holly
* Ivy
* Pine
* Eucalyptus
* Lambs Ear
* Mistletoe
* Ferns
* Juniper – for gin enthusiasts amongst us!
* Anything you can find with red berries will work wonderfully

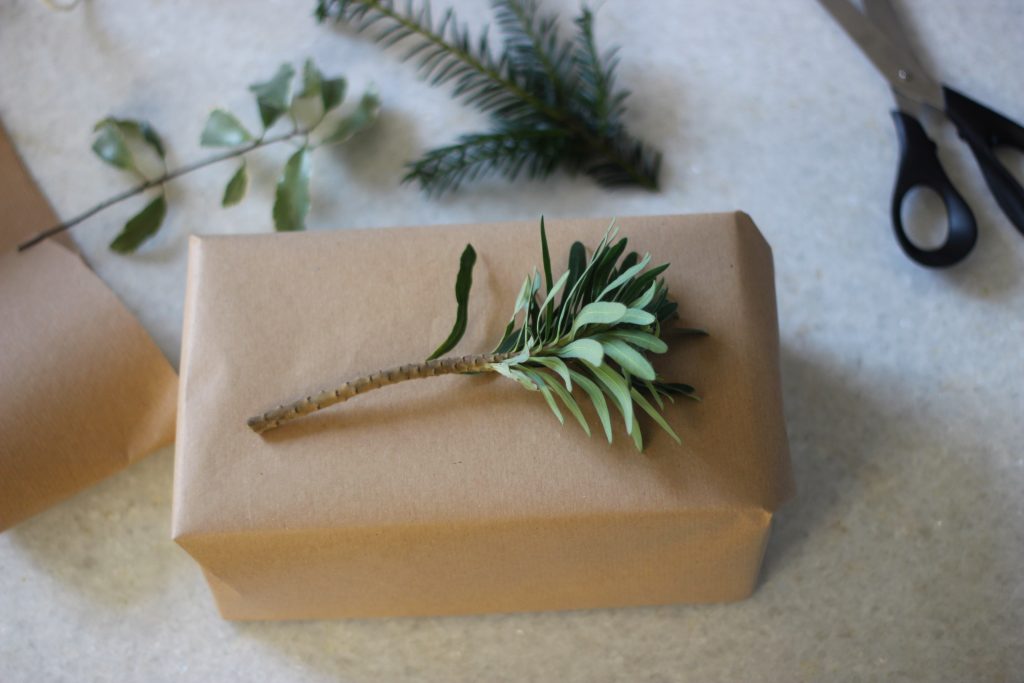
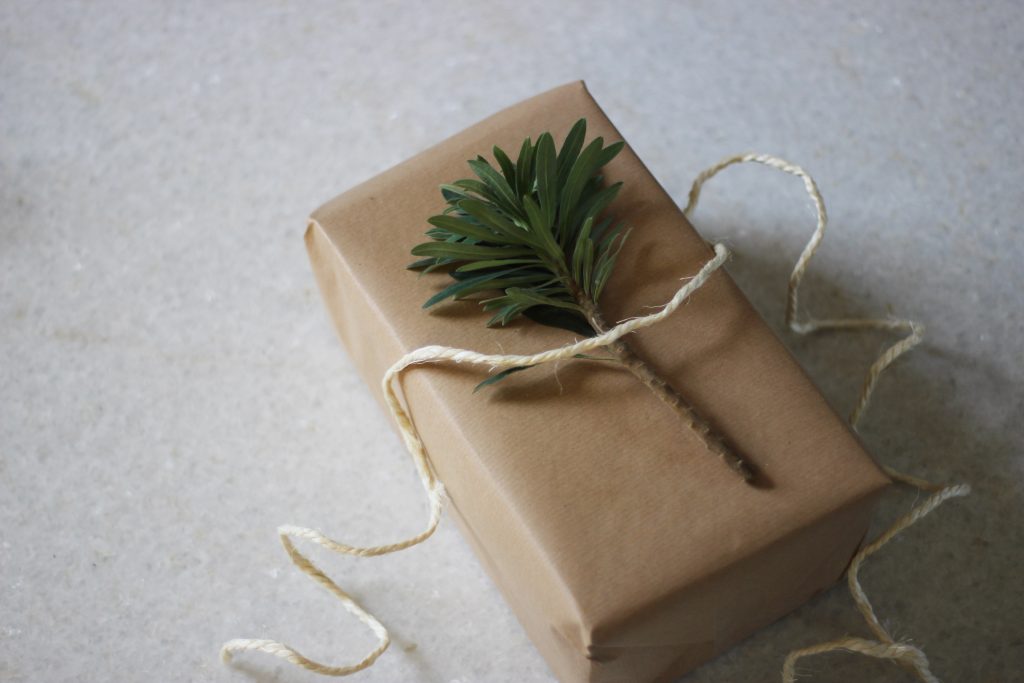
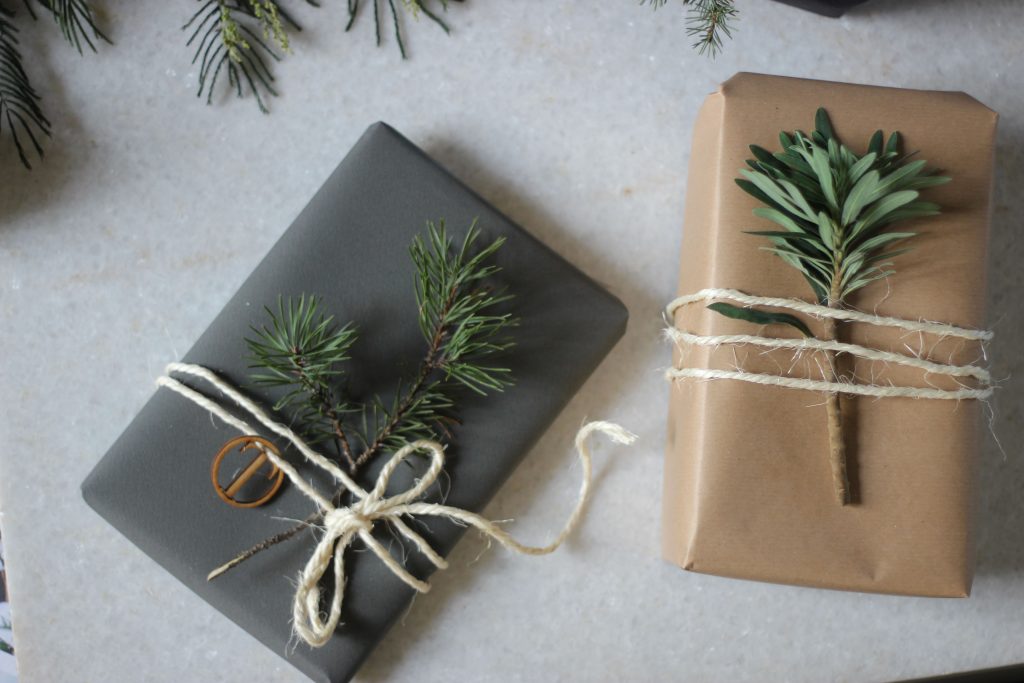
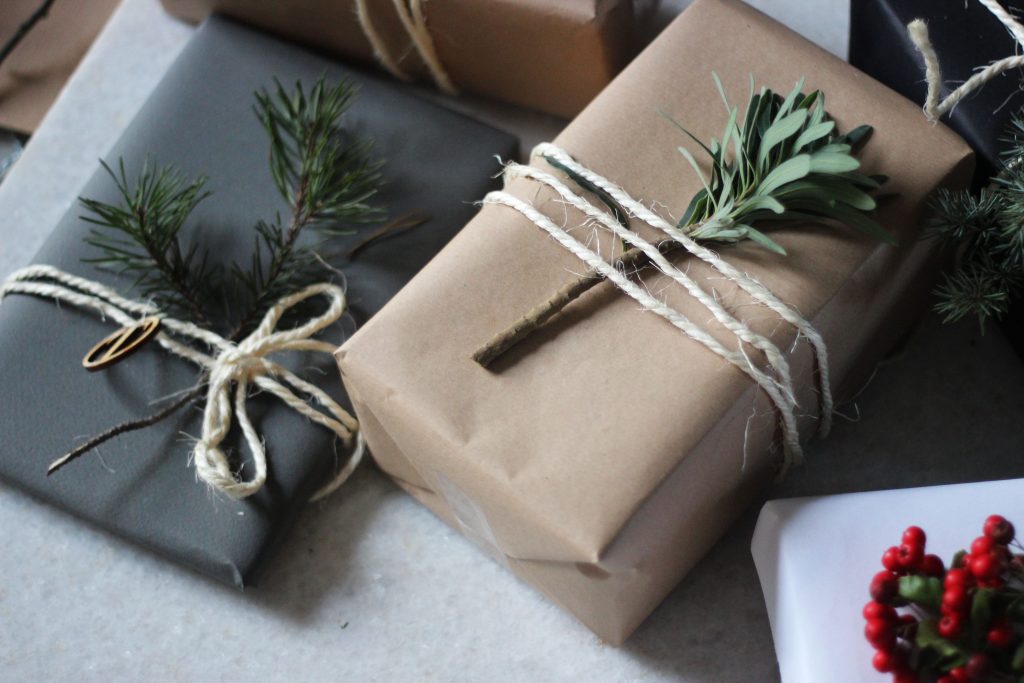
2. PICK YOUR PAPER: When wrapping our top tip is to stick to a colour scheme so that under the tree doesn’t look like a mismatched disaster zone. We’ve gone for a paired-back palette of grey, brown, black and white. Trust us there’s no twine or foliage that won’t suit these tones. Alternatively a nice bottle green, oxblood red or conker brown would be a striking fit.
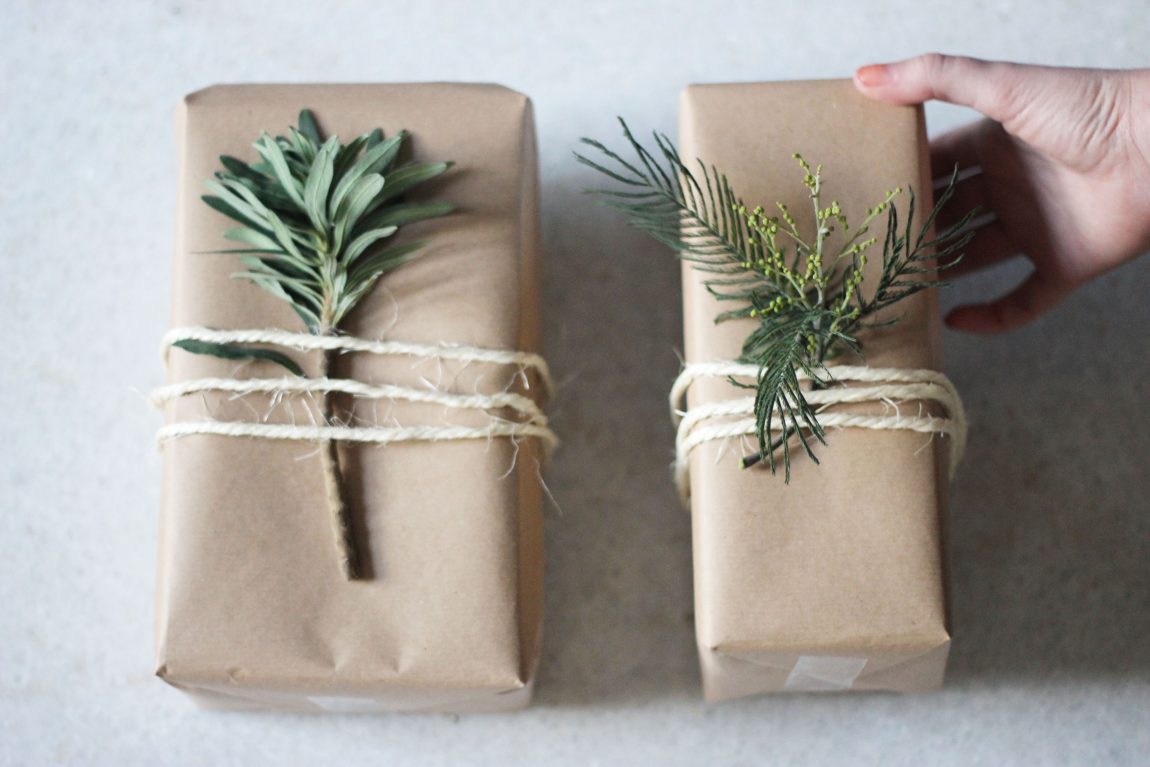
3. ADD EMBELLISHMENT: Instead of the classic square pattern try wrapping the twine around the one side repeatedly . If you want a more luxe look try using velvet ribbon instead of twine for the oh-so-special gifts. Place your foraged goods between the twine and paper and hey, you’re a bonafide Santa’s helper!
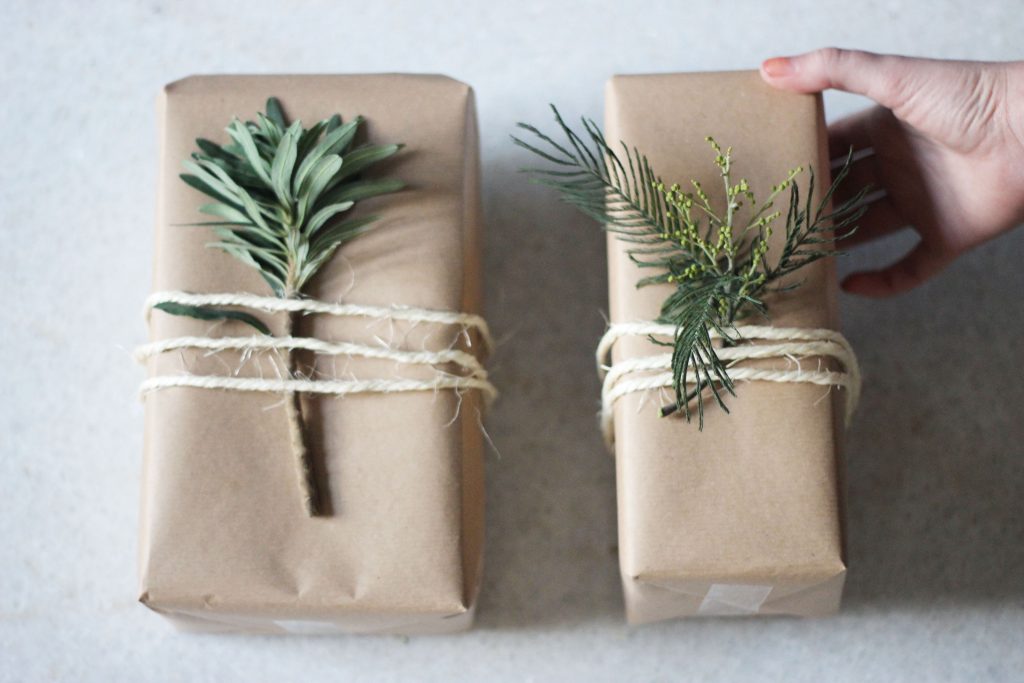
The best thing about this rustic look is that perfection isn’t everything (so it need not take all week,if you don’t want it to). Most importantly make it enjoyable, pop open some bubbly and start blasting out that Nat King Cole, tis Christmas after all!



No Comments